Packaging Datasets with Mantra


With Mantra it’s easy to package data for deep learning. In these docs, we are going to see how we make a data package, and how we process it using the powerful Dataset class.
💾 Make a Dataset
Go to the root of your project. To make a dataset use the makedata command. We can make an empty dataset as follows:
$ mantra makedata first_dataset
Or if we already have a tar.gz file with some data, we can reference it as follows:
$ mantra makedata first_dataset --tar-path tar_path_here
Our new data folder will be located at myproject/data/first_dataset. Inside:
raw/
__init__.py
data.py
README.md
data.pycontains the coreDatasetclass that is used to process your dataraw/contains the tar.gz file with the raw dataREADME.mdis where you can describe the model (useful for sharing the model with others)
If we don’t need flat files, but want to import data through an API, we can use the no-tar flag:
$ mantra makedata first_dataset --no-tar
We now need to extract the input and output vectors X, y that are used to train models …
✨ Magic Data Templates
Many datasets are standardised, such as a folder of images or a csv file with columns of features and labels. Mantra provides magic templates so you don’t have the write the entire class yourself.
💁 Images
If we have a tar file that contains a folder of images, we can use the images template:
$ mantra makedata celeba --template 'images' --tar-path celebA.tar.gz --image-dim 128 128
Above we are using the images template. This will create an ImageDataset class using the tar file provided. We can also specify additional default options for the template:
Parameter Type Example Description –image-dim list 64 64 Desired image dimension (height, output) –normalize bool (flag) –normalize Whether to normalize the images for training
Once we have executed the command, we can open the data.py file:
import numpy as np

from mantraml.data import Dataset, cachedata
from mantraml.data import ImageDataset

class MyImageDataset(ImageDataset):
    data_name = 'My Image Dataset'
    data_tags = ['example', 'new', 'images']
    files = ['celebA.tar.gz']
    image_dataset = 'celebA.tar.gz' # referring to the file that contains the images

    # additional default data
    has_labels = False
    image_dim = (128, 128)
    normalized = True

    @cachedata
    def y(self):
        # return your labels here as an np.ndarray
        # if no labels, e.g. generative models, then you can remove this method
        return
We can see that we are inheriting from ImageDataset. We can also see our input dimensions have entered as a default argument. We can use sample to eyeball the data:
from data.celeba.data import MyImageDataset

dataset = MyImageDataset(name='celeba')
dataset.sample()

So the advantage of using a template is that we didn’t have to write any code. We could, if we wish though, write on top of these templates for some further customisation if we needed it.
📙 Tables
If we have a flat csv file, we can use the tabular template to configure it:
$ mantraml makedata table_data --template 'tabular' --tar-path mydata.tar.gz
$ --file-name 'my_flat_file.csv' --target 'target_column'
$ --features 'feature_1' 'feature_2'
This will create an TabularDataset class. We can also specify additional options for the template.
Parameter Type Example Description –file-name str ‘my_flat_file.csv’ The name of the flat file inside the tar –target str ‘target_column’ The column name to extract as the target –features list ‘feature_1’ ‘feature_2’ The columns to extract as the features –target-index int 0 The column index of the target –features-index list 1 2 The column indices to extract as features
The index options are there if we want to refer to the table by indices rather than column names; if we just want to use column names then we can ignore these options.
Once we have executed the command, we can open the data.py file:
import numpy as np

from mantraml.data import TabularDataset


class MyTabularDataset(TabularDataset):

    data_name = 'Example Table Data'
    files = ['mydata.tar.gz']
    data_file = 'my_flat_file.csv'
    data_tags = ['tabular']
    has_labels = True
    target = 'target_column'
    features = ['feature_1', 'feature_2']
We can see that we are inheriting from TabularDataset. We can also see our feature and target options are now default argument options. This dataset is now Mantra ready. If we want to alter features from the command line:
$ mantraml train my_model --dataset table_data --features feature_1 feature_2 feature_3
📊 Custom Data Processing
If the magic templates aren’t useful, you can write your own data processing logic. Open up the data.py file:
import numpy as np

from mantraml.data import Dataset, cachedata

class MyImageDataset(Dataset):
    data_name = 'My Image Dataset'
    data_tags = ['example', 'new', 'images']
    files = ['myfiles.tar.gz']
    has_labels = False

    @cachedata
    def X(self):
        # return your features here as an np.ndarray
        return

    @cachedata
    def y(self):
        # return your labels here as an np.ndarray
        return
Simply write your logic for extracting X, y in the above. Your dependency data in files will be extracted to a path at self.self.extracted_data_path. So if you are extracting data from these files, just open the files from this directory and do what you want with them.
You might be wondering what the @cachedata decorator does. It does two things. First it is a property based decorator so you can access the data at MyImageDataset().X and MyImageDataset().y respectively. Secondly, it caches the data to RAM upon the first call so the processing logic doesn’t have to be run twice. If you don’t want the caching, then just replace this decorator with @property.
For more more Mantra dataset examples, check out the Mantra examples repository.
🖼 Visualizing Your Data Projects
Load up the UI and click on a model:
$ mantra ui
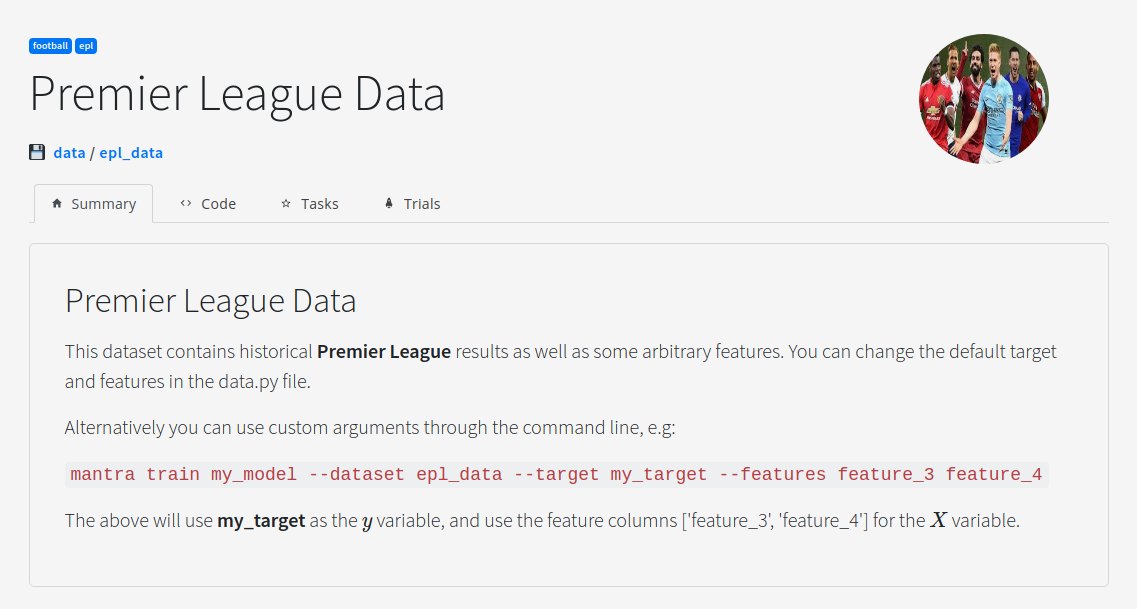
In order to customise how the UI looks for your dataset you can add metadata to your dataset classes:
class PremierLeagueData(MantraModel):

    # The Name of the Dataset
    data_name = 'Premier League Data'

    # The Dataset Image
    data_image = "default.jpeg"

    # Link to a Notebook
    data_notebook = 'notebook.ipynb'

    # Tags for the Model
    data_tags = ['football', 'epl']
🤖 Accessing Datasets in Models
When you define a model you pass in a data and task parameter:
def __init__(self, data=None, task=None, **kwargs):
    self.data = data
    self.task = task
If you don’t have a task, then you have no training/test split, and you can simply access the data at self.data.X and self.data.y.
If you have a task then you can train your model on the training set explicitly at self.task.X_train and self.task.y_train.